
Pop Up Trailer Repairs: A Utah Owner's DIY Guide
A lot of first-time pop-up owners in Utah learn the same lesson the hard way. The camper looks fine in the driveway, the weather app says clear skies, and then somewhere between Salt Lake City and a weekend spot near Jordanelle, a roof corner starts dripping, the crank feels rough, or a light quits after setup.
That doesn’t mean you bought the wrong camper. It means pop ups reward owners who pay attention early. They’re simple in the best way, but they still have moving lift parts, folding roof structures, canvas, seals, wiring, plumbing, and trailer running gear that all need a little care.
The good news is that many pop up trailer repairs are manageable if you catch them early and stay within your lane. Small leaks, loose sealant, minor canvas damage, and a basic 12-volt issue are often owner-level jobs. Snapped cables, hidden water intrusion, soft floors, propane concerns, and structural roof damage usually aren’t. That line matters.
Our team sees both sides of this every season. Owners who do a few smart checks usually avoid trip-ending surprises. Owners who wait until something binds, leaks, or sags often turn a small repair into a much bigger one. If you’re heading into your first season, this guide will help you sort out what to inspect, what to fix yourself, and when to stop and get help.
Your Pre-Trip Pop-Up Health Check
A pre-trip inspection doesn’t need to take long. It does need to be consistent.
The best pop up trailer repairs are the ones you never have to make at the campsite. A quick walkaround in your driveway catches most of what strands new owners, especially in Utah where dry heat, UV, dust, spring rain, and mountain temperature swings can all work against seals and moving parts.
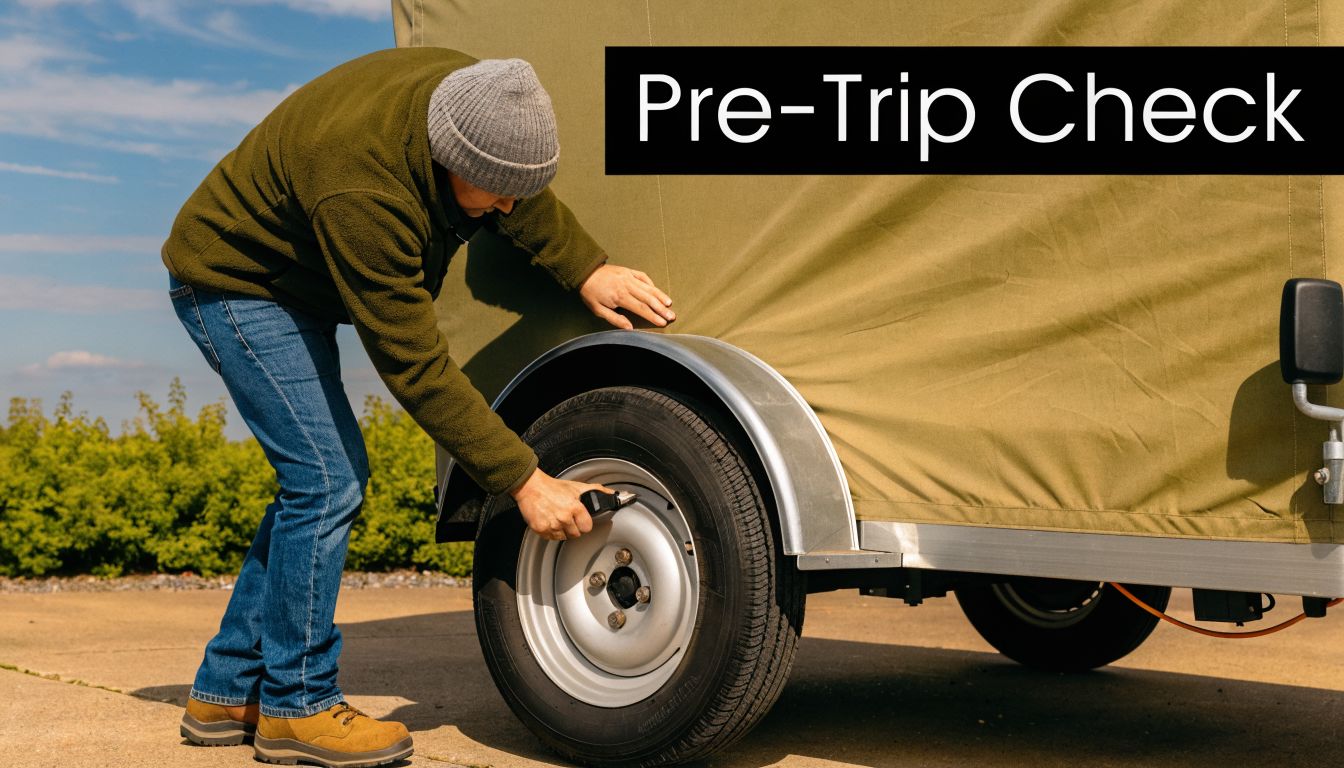
Start with the lift system
If the roof goes up smoothly, the rest of setup usually follows. If it doesn’t, stop there.
Preventive maintenance on pop-up roof lift mechanisms is critical, as 65% of failures stem from corrosion or seized cables. That same maintenance guidance notes that cleaning pivot points, inspecting cables for frays, and using marine-grade PTFE grease can reduce friction by 60%.
Use this short sequence before a trip:
- Crank slowly: Listen for popping, grinding, or uneven resistance.
- Watch all four corners: If one corner lags, don’t force it higher.
- Inspect exposed cables and pulleys: You’re looking for rust, fraying, kinks, or flattened spots.
- Check pivot points: Dirt buildup and old grease can turn smooth operation into a bind.
- Use the right lubricant: Marine-grade PTFE grease works better here than grabbing whatever spray can is on the garage shelf.
Practical rule: If the roof feels harder to raise than it did last trip, assume something changed and inspect it before you camp.
Check the roof, seams, and canvas
Most water damage starts as a small problem that looked harmless two weeks earlier.
Run your hand along the roof edge trim and corner seals. Look for lifted caulk, cracked sealant, loose trim screws, or any dark staining around seams. Then open the camper and inspect the canvas from the inside with daylight behind it. Pinholes, weak stitching, and corner stress tears show up fast that way.
A few things matter more than owners expect:
- Roof corners: These flex the most during travel and setup.
- Canvas near bed ends: Fabric often rubs or folds here.
- Window zippers and seams: If stitching is separating, water usually follows.
- Interior ceiling panels: Stains, bubbling, or softness mean you need to investigate, not just wipe it down.
If you like checklists, using a structured worksheet helps. A general PM checklist for contractors can be adapted well for pop-up inspections because it forces you to document repeatable checks instead of relying on memory.
Finish with the road items
The trailer still has to get there safely.
Before any weekend trip, check:
- Tire pressure: Do it cold, not after towing.
- Tread and sidewalls: Look for cracking, bulges, or uneven wear.
- Lug nuts: Confirm they’re snug and haven’t backed off.
- Lights and plug connection: Running lights, turn signals, and brake lights all matter.
- Brakes and breakaway cable: Make sure nothing is dragging, frayed, or disconnected.
- Coupler and safety chains: This is basic, but it gets missed more often than it should.
For more owner-level setup and care ideas, our pop-up camper guide is a useful next read.
Diagnosing Common Pop-Up Trailer Problems
When something goes wrong, the fastest way to waste money is guessing. The right first question isn’t “How do I fix this?” It’s “What system failed?”
That shift helps you separate a minor owner repair from the kind of problem that spreads damage while you keep using the camper.
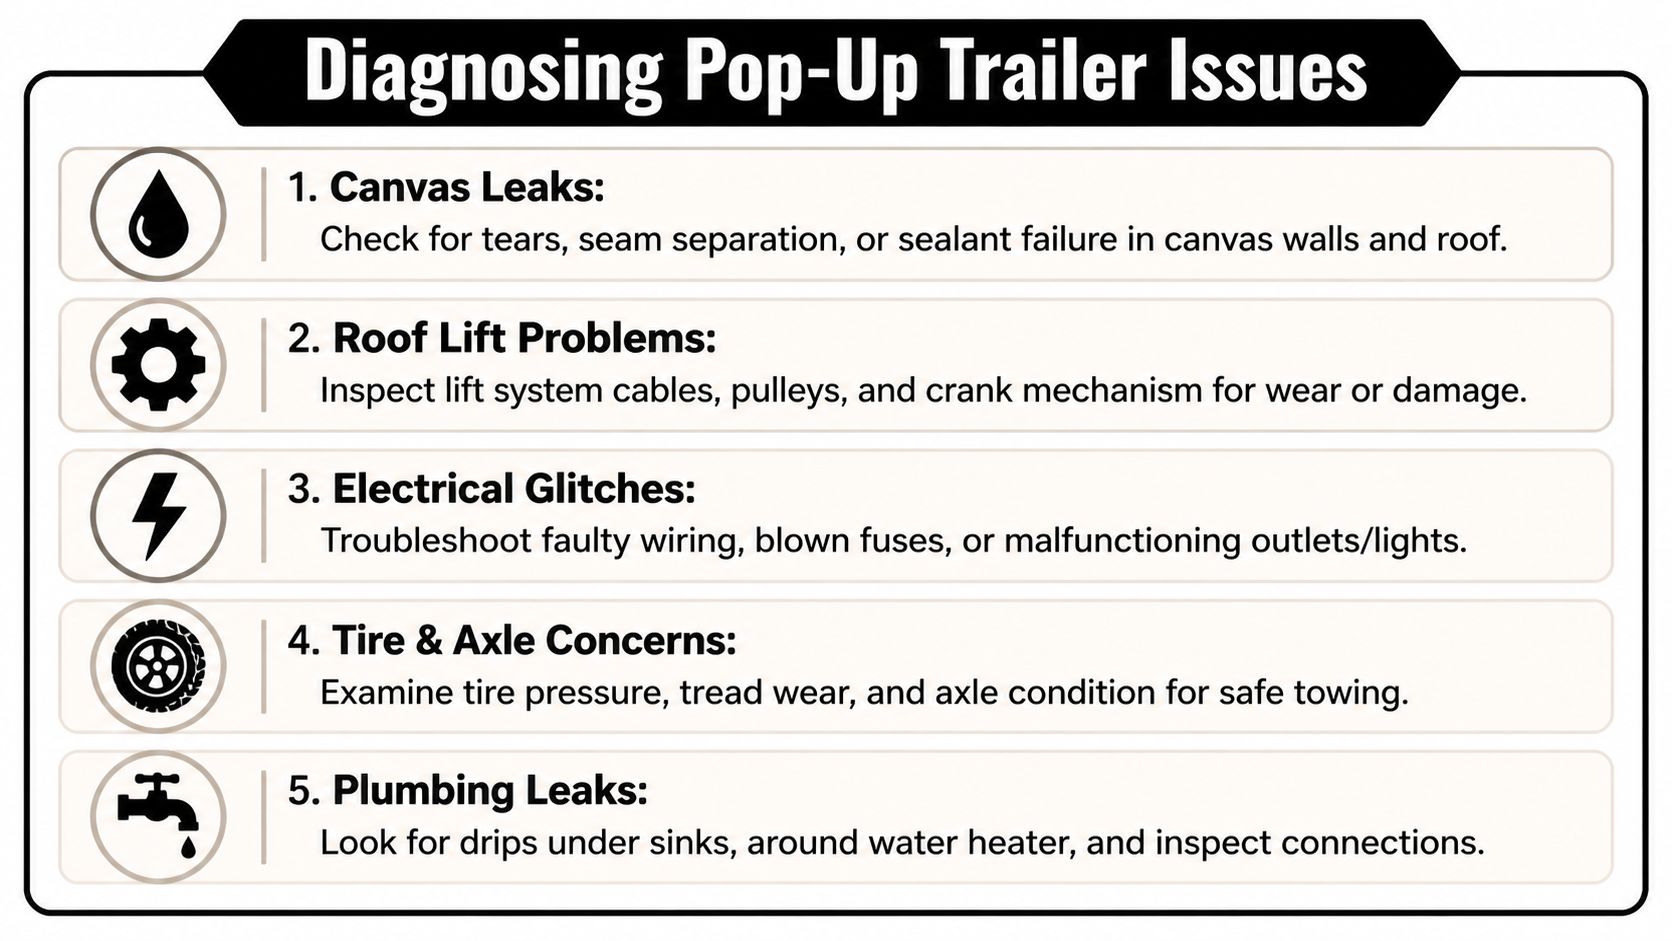
Roof and canvas issues
The classic symptom is simple. You see moisture where moisture shouldn’t be.
Sometimes it’s obvious, like a drip at a roof seam. Sometimes it’s more subtle, like a musty smell, wrinkled interior paneling, stained bunk-end corners, or canvas that feels damp long after the morning dew should be gone. Small seam failures and pinhole tears are usually workable DIY jobs. Soft roof sections, widespread staining, bubbling skin, or a sagging corner are not.
Repair costs can escalate fast. RV repair shop rates in 2025 average $145 to $195 per hour, with typical non-drivetrain repairs at $450 to $1,200. Roof and water damage are the most expensive category and often exceed $5,000 for major issues common in pop-up trailers.
If you want a plain-language comparison of leak patterns and roof sag behavior, some of the same logic shows up in guides on fixing mobile home roof leaks and sagging. Different structure, same principle. Water rarely stays where it first appears.
Lift system hiccups
Uneven roof lift, a stiff crank, clicking under load, or one corner sitting low after setup usually points to the lift system.
This category deserves caution because the visible symptom is often downstream from the underlying problem. The crank may feel rough because a cable is corroded. One side may lag because a pulley is binding. A roof may twist because someone kept cranking against resistance on the last trip.
Use a simple triage approach:
- Rough but still even movement: Inspect, clean, and lubricate before using again.
- One corner consistently low: Stop and inspect the lift path closely.
- Crank spins strangely or slips: Don’t keep testing it.
- Loud snap, sudden drop, or obvious cable damage: This is pro territory.
Most lift failures announce themselves early. Owners get into trouble when they try to “power through” one more setup.
Interior problems
Interior issues tend to fall into three buckets. Flooring, plumbing, and 12-volt electrical.
A soft floor near the door or galley often means long-term water intrusion. Damp cabinet bases point to plumbing leaks or track-in water that never dried properly. A dead ceiling light might be a fuse, a weak ground, a corroded connector, or a switch issue.
Here’s a fast comparison table you can use in the driveway.
| Problem Area | Common Issue | DIY Difficulty | Est. DIY Cost/Time | When to Call a Pro |
|---|---|---|---|---|
| Roof seam | Cracked or missing sealant | Low | Low cost, short afternoon job | If substrate feels soft or leak source isn’t clear |
| Canvas | Small tear or seam gap | Low to moderate | Low cost, short repair if fabric is dry and clean | If fabric is brittle, moldy, or separating in multiple areas |
| Lift system | Stiff crank or uneven lift | Moderate | Moderate time because inspection is slow and careful | If a cable is frayed, snapped, or roof height is uneven side to side |
| Electrical | One dead light or outlet issue | Low to moderate | Low cost if it’s a fuse, bulb, or connector | If there’s heat, burnt wiring smell, repeated fuse failure, or converter concerns |
| Plumbing | Small drip at fitting | Low | Low cost, quick fix with access | If leak is hidden, recurring, or has already damaged floor or cabinetry |
| Floor structure | Soft spot near entry or galley | High | Poor DIY candidate unless damage is very limited | Call a pro when structure feels spongy or rot has spread |
Building Your Essential DIY Repair Kit
A good repair kit saves trips. It also keeps you from making bad repairs with the wrong material because the campground store only had one tube of mystery sealant on the shelf.
Keep your supplies in three separate bags or small bins. That way you’re not digging through electrical parts while water is coming through a roof seam.
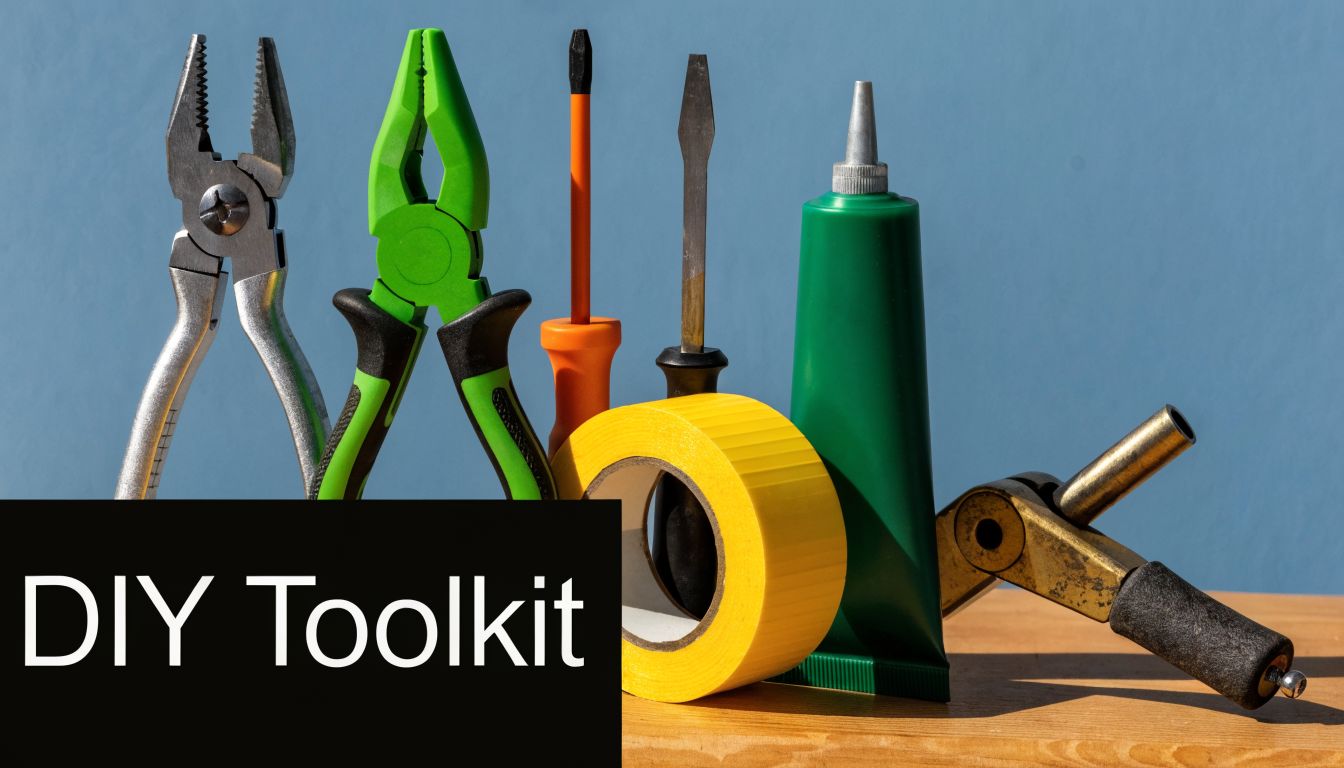
The seam and seal bag
This bag handles the repairs most owners face first.
Pack a quality lap sealant that matches RV roof use, a compatible non-sag sealant for vertical seams, cleaning rags, nitrile gloves, plastic scrapers, painter’s tape, a small caulk gun, and patch material for minor canvas tears. Add rubbing alcohol or another surface prep cleaner that won’t damage the material you’re working on.
The trade-off here is simple. Cheap sealant is tempting. Removing failed sealant later is miserable.
Useful extras include:
- Butyl tape: Good behind trim or hardware when you’re resealing a joint.
- Plastic putty knife: Removes loose material without gouging skin or trim.
- Small headlamp: Most leaks are easier to trace in dim interior corners.
- Disposable brush: Helpful for cleaning out dusty cracks before sealing.
The electrical first-aid bag
Electrical problems in pop ups are often basic, but only if you can test instead of guess.
Carry a digital multimeter, spare fuses in the sizes your camper uses, a fuse puller, crimp connectors, heat-shrink connectors, wire strippers, electrical tape, and a small assortment of ring terminals. A compact test light can help too, but a multimeter gives you better information.
For replacement parts, it helps to understand the trade-offs between factory parts and replacements from other suppliers. This primer on understanding aftermarket parts options explains the general decision well. In RV service, the right choice depends on fit, material compatibility, and whether the part affects safety or system reliability.
A lot of owners also add a few comfort and convenience items after the first trip. Our handy accessories for pop-up campers guide covers some useful add-ons that make setup and minor troubleshooting easier.
The general fix-it bag
This is the bag that earns its keep on travel days.
Pack screwdrivers, nut drivers, adjustable pliers, side cutters, a utility knife, zip ties, stainless fasteners, spare hitch pin clips, duct tape for temporary hold-only use, work gloves, and a torque wrench if you handle your own wheel-related checks. Keep a dedicated tube of marine-grade PTFE grease in this bag, not floating loose in a kitchen tote.
A quick visual on tool basics can help newer owners round out the kit without overbuying:
Buy for the repair you’re actually willing to do. A smaller, organized kit beats a giant bin of random parts every time.
Actionable Fixes for Frequent Pop-Up Issues
Not every repair belongs to a shop. Some of the most common pop up trailer repairs are owner-level jobs if the damage is limited and you prep the area correctly.
The key is resisting the urge to smear product over dirt, moisture, or loose material and hope for the best. Good repairs stick because the surface is clean, dry, and stable.
Patching a small canvas tear
A small puncture or short tear in good canvas is usually manageable. Set the camper up fully, let the fabric dry completely, and inspect the area from both sides. If the fabric is brittle, moldy, or tearing in multiple places, stop there.
For a good candidate repair:
- Clean first: Dust and body oils ruin adhesion.
- Flatten the fabric: Tension matters. You don’t want the patch wrinkling as soon as you close the camper.
- Use patch material meant for flexible outdoor fabric: Rigid products often fail after the first fold cycle.
- Seal the edges cleanly: Excess adhesive usually collects dirt and starts peeling sooner.
A small patch is a repair. It’s not an excuse to ignore why the damage happened. Check whether the canvas is rubbing a bunk support, catching near a corner, or getting pinched during closure.
Re-caulking a leaky seam
This is one of the best DIY jobs for a new owner because it teaches you how your roof is assembled.
Don’t apply new sealant over badly failed material and call it done. Remove loose or cracked sealant, clean the joint thoroughly, and inspect the seam underneath. If the trim is loose, the fastener holes are wallowed out, or the material beneath feels soft, you may be beyond a simple re-caulk.
When resealing, apply the product the way it was designed to work. Self-leveling sealant belongs on horizontal roof surfaces. Non-sag sealant belongs where gravity would otherwise pull the bead out of place. A neat bead on a sound seam is far better than a huge messy blob over an unresolved leak path.
A clean, modest reseal on a stable seam usually lasts longer than an oversized patch over wet, dirty material.
Troubleshooting a simple 12-volt lighting issue
If one interior light won’t turn on, start with the basics. Check the bulb or fixture, then the fuse, then power and ground at the fixture with a meter. Pop ups often develop small connection issues at crimp points, ground screws, or folding harness sections where wires flex during setup.
Good DIY electrical work is slow and methodical:
- Confirm battery condition and disconnect power when appropriate.
- Check the simplest failure points first.
- Inspect connectors for corrosion or looseness.
- Repair one thing at a time so you know what fixed it.
Repeated blown fuses, hot wiring, or anything involving the converter moves this out of beginner territory.
Working with older ABS roofs and newer composite panels
Material matters. A repair method that works on one pop up roof can fail badly on another.
For older Coleman ABS roofs, the ABS MEK patch method is a proven approach. It involves V-grooving the crack, etching with MEK solvent, applying ABS slurry, and sanding smooth, and when done correctly it can restore up to 90% of structural integrity according to this guide on repairing a Coleman ABS roof. That’s not a casual patch. MEK requires careful handling, proper PPE, and respect for the material.
On newer wood-free composite panels, the mistake we see is owners reaching for whatever worked on an old wood-framed camper. Adhesive compatibility matters. Surface prep matters. If you’re not completely sure what panel material you’re repairing, identify that first.
When to Trust the Experts at Motor Sportsland
A smart owner doesn’t prove anything by taking on the wrong repair. In pop ups, the expensive mistakes usually start when someone keeps towing, cranking, or sealing after the camper has already crossed into structural or safety territory.
That line shows up sooner than many new owners expect.
Repairs that should trigger a service appointment
Some problems are straightforward shop calls:
- Snapped or heavily frayed lift cables
- A roof that lifts unevenly even after basic inspection
- Soft floors, soft roof sections, or wall delamination
- Propane leaks or appliance gas concerns
- Recurring electrical failures beyond a fuse or fixture
- Water intrusion that has spread into structure or cabinetry
- Axle, bearing, brake, or suspension concerns that affect towing safety
These jobs need more than tools. They need diagnosis, access, parts matching, and experience knowing what hidden damage usually comes next. A soft floor by the galley, for example, isn’t just a floor issue until proven otherwise. It may also involve plumbing, subfloor, lower wall structure, and anchoring points.
Why professional repair keeps costs from snowballing
There’s a reason this side of the industry keeps growing. The mobile trailer repair service market was valued at USD 1.46 billion in 2023 and is projected to reach USD 2.98 billion by 2033, and over 85% of RV shipments are towables like pop-ups, according to mobile trailer repair market data from Spherical Insights. More towables on the road means more owners running into lift, water, brake, and structure issues that aren’t wise to improvise.
Professional service isn’t just about fixing what broke. It’s about finding the adjacent problems before they become next month’s failure.
If a repair involves structure, propane, towing safety, or hidden water damage, the cheapest path is usually diagnosing it correctly the first time.
Our service department handles the kinds of repairs owners shouldn’t gamble on. If your camper needs inspection, maintenance, plumbing work, electrical diagnosis, or a deeper repair, you can schedule through our RV service department. For local owners in the Salt Lake City area, that usually beats towing a questionable pop up across the state hoping the issue stays small.
Conclusion Your Next Adventure Awaits
Pop up trailer repairs don’t have to be intimidating. Most first-season success comes down to three habits. Inspect before each trip, fix small issues while they’re still small, and don’t force a repair that’s beyond what you can safely diagnose.
That’s the key confidence point for new owners. Not knowing how to do everything, but knowing how to tell the difference between a driveway repair and a service job.
A well-kept pop up gives you what you bought it for in the first place. Easy weekends, flexible travel, and more time in places like Bear Lake, the Wasatch back, or a quick overnight outside Salt Lake City. If your camper needs attention before the next trip, take care of it now so your next setup feels routine instead of stressful.
Frequently Asked Questions About Pop-Up Repairs
A lot of new owners ask the same questions after their first few trips. Most of them come back to inspection habits and knowing what not to ignore.
An analysis of online forums found that 68% of pop-up owners report lift system failures due to undetected cable wear, rust, or improper lubrication, which tracks closely with what service departments see in practice.
| Question | Answer |
|---|---|
| How often should I inspect my pop up trailer? | Before every trip, after every trip, and before storage. A short routine beats a major repair. |
| Can I fix a roof leak myself? | Sometimes. A small seam or sealant issue is often manageable. Soft spots, widespread staining, or structural damage usually need a shop. |
| Is an uneven roof always a lift cable problem? | No. It can also be a pulley, crank, guide issue, or damage from forcing the system. |
| What repair should I never ignore? | Any sign of water intrusion into structure, propane smell, or a towing safety issue. |
| Why do lift systems fail so often? | Rust, lack of lubrication, and missed cable wear are common causes. |
| Is a soft floor a cosmetic problem? | Usually not. It often points to longer-term moisture damage underneath. |
If you need help sorting out pop up trailer repairs, shopping for parts, or scheduling service before your next Utah trip, Motor Sportsland is a practical place to start.
