
Used RV Inspection Checklist: 10 Must-Check Areas

Before you sign papers on a used RV near Salt Lake City, look past the polished cabinets, clean upholstery, and attractive floor plan. A rig can appear ready for Jordanelle or Bear Lake while hiding moisture behind a wall, aged tires beneath fresh-looking tread, weak batteries, freeze damage in the plumbing, or service records that don't explain major repairs. Cosmetic appeal is useful, but it should never outrank structural condition and safety.
This used RV inspection checklist follows the order we recommend on a real visit, from the most expensive and safety-critical risks to documentation and roadworthiness. Bring a flashlight, check tire date codes, use an electrical tester, take a moisture meter if you have one, request service records, and write down every defect. A thorough review is a systems audit, not a quick walk-through. Industry guidance commonly organizes the process into six zones, including the exterior and roof, interior, mechanical systems, electrical, plumbing, and propane systems, with quality inspections often taking 2 to 4 hours and covering at least 150 inspection points across major systems (used-RV inspection guidance).
Motor Sportsland helps Utah buyers compare used inventory, arrange service checks, and ask practical questions before committing. The same principle applies to any purchase, residential or recreational: the absence of visible defects doesn't prove the absence of risk, as this commercial property defect risks guide explains in a different inspection context.
1. Structural Integrity and Water Damage Assessment
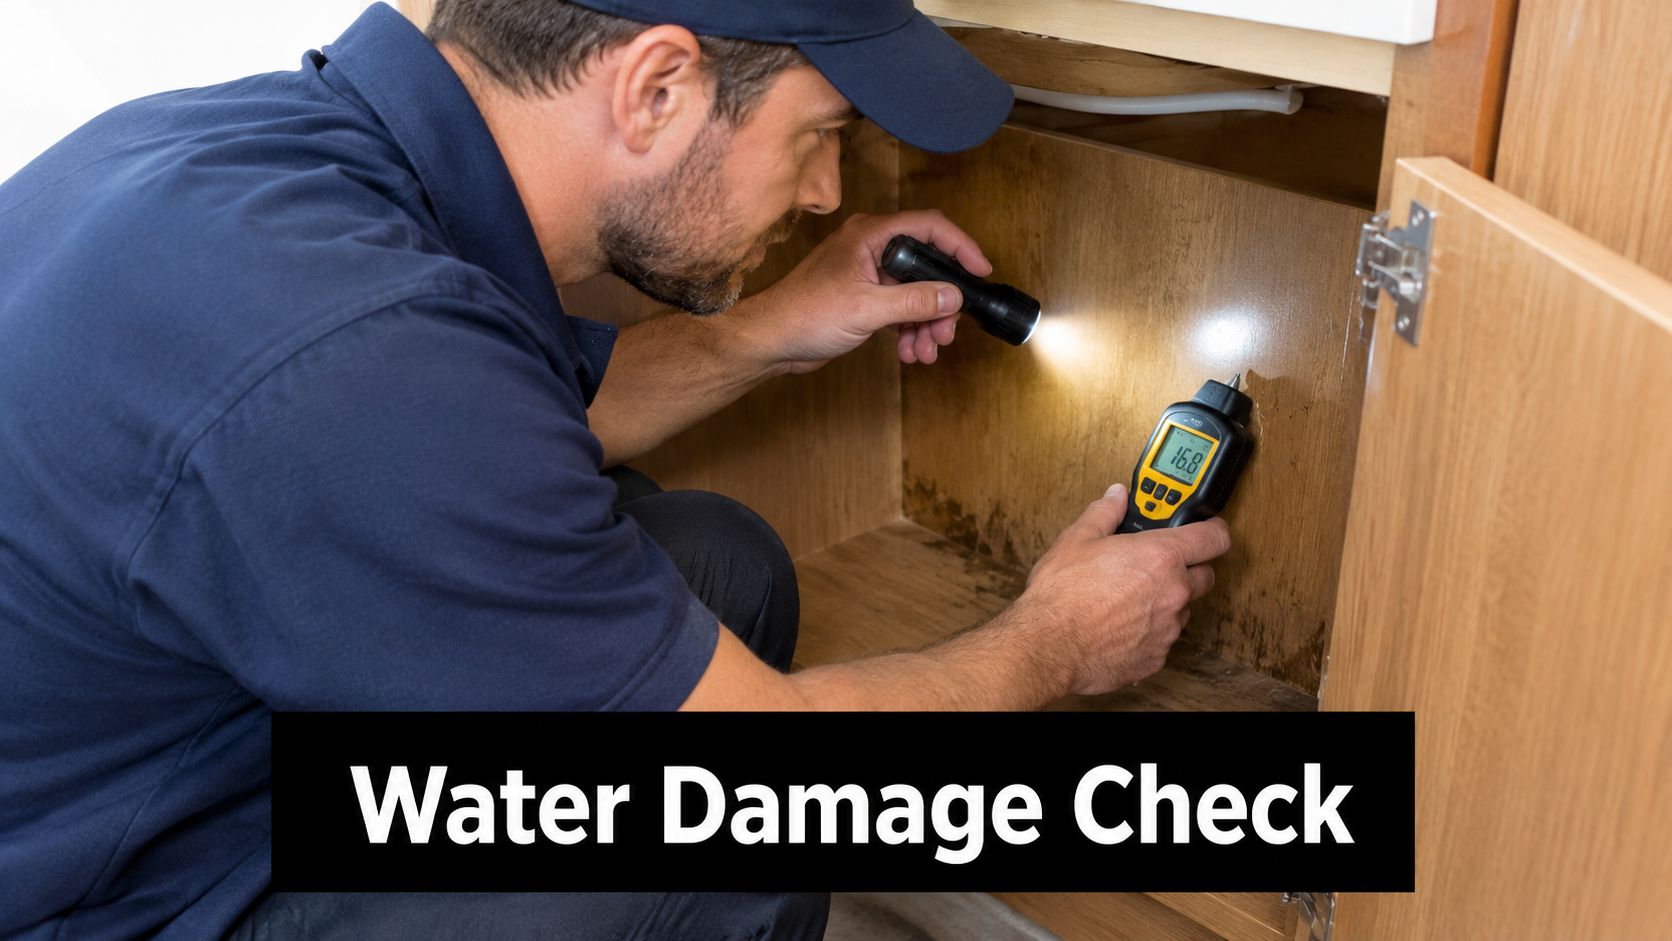
A used RV can look dry and clean while a slow leak is weakening its walls or floor. Start with the structure before judging finishes or discussing price. Inspect the roof edges, window frames, corner trim, slide seals, storage doors, and underbelly from outside. Inside, press gently around the floor, wall corners, ceiling edges, and cabinets. Look for soft spots, bubbling, discoloration, swollen wood, delamination, and a musty smell.
Utah's dry climate can hide moisture problems, especially after an RV arrives from a wetter region. UV exposure also hardens sealants and stresses roof materials, while winter freeze damage can open seams or worsen existing cracks. Pay close attention to failed roof seams, window gaskets, slide rooms, and floor edges. Wall separation or a soft floor should change the deal, not just the inspection notes.
What to check before negotiating
- Cabinets and hidden spaces: Open every cabinet, look beneath sinks, and inspect behind appliances with a flashlight. Dark staining, swollen panels, or a damp odor can point to a leak that is no longer active.
- Floor and walls: Walk slowly and test suspicious areas with your foot. Springy flooring, swollen trim, bubbling exterior skin, or a gap between the wall and its finish may indicate damage beneath the surface.
- Repair history: Ask whether the RV has had leaks, roof repairs, freeze damage, or sealant work. Request invoices and written details, not only a verbal assurance.
- Moisture readings: Use a moisture meter to turn a vague concern into a measurable reason for further testing. Some inspection guidance treats readings below 15% as a dry benchmark, while higher readings call for deeper investigation (used-RV buying checklist).
Practical rule: A stain may be cosmetic, but a soft substrate, a moisture reading above the dry benchmark, or swollen wood means you need to identify the source and extent before discussing price.
Motor Sportsland service checks use visual inspection and moisture testing to investigate suspicious areas. For sealant condition, this RV exterior sealant guide explains how small gaps can become larger structural problems.
2. Engine and Mechanical System Performance Check
A motorhome needs more than a clean engine bay. Start it cold if possible, observe how quickly it fires, and listen at idle for tapping, knocking, belt noise, or uneven running. Check fluid levels and condition, inspect hoses and belts, look for leaks, and watch the exhaust for unusual smoke. Then verify transmission engagement, steering response, coolant temperature, and warning lights during the drive.
Salt Lake City sits at significant elevation, and Utah routes quickly lead toward steep Wasatch grades. An engine that feels acceptable on a flat dealership lot may struggle while climbing, towing, or carrying a full load. The same applies to a towable RV and its tow vehicle. Confirm that the tow vehicle's capacity matches the trailer's loaded requirements, not just the advertised empty weight.
Ask questions the records should answer
Request oil-change records, coolant service, transmission work, belt replacement, and documented repairs. For a diesel motorhome, pay close attention to smoke color, turbo response, engine braking, and cooling performance. A qualified mechanic can also use diagnostic equipment and, where appropriate, compression or fluid analysis to identify wear that a visual inspection won't reveal.
During the drive, include a gradual incline if it's safe and legal. Listen for hesitation, overheating, delayed shifting, or a loss of power. Afterward, inspect beneath the engine and transmission for fresh fluid.
Motor Sportsland can help with post-purchase engine diagnostics and repairs, but the best time to discover a major mechanical issue is before the transaction. If the seller won't allow a meaningful drive or independent inspection, treat that refusal as a serious warning rather than a minor inconvenience.
3. Plumbing and Water System Integrity
Turn on the fresh-water system and test every faucet, the shower, the toilet, and the water heater. Look beneath each sink while the pump runs, inspect fittings around the water heater, and check the floor near tanks and valves. A system that produces water at one faucet can still have a leak, blocked line, failing pump, or inaccurate tank sensor elsewhere.
Freeze damage deserves special attention in Utah. An RV stored outdoors or in an unheated building may have cracked fittings, split lines, damaged valves, or a fractured tank even if the owner says it was winterized. Ask whether the unit was drained or protected with RV antifreeze, and request records if winterization was performed professionally.
Test the system under pressure
A static glance at a dry plumbing compartment isn't enough. Run multiple fixtures, observe pressure and flow, and listen for a pump that cycles repeatedly after the faucets are closed. A pressure test can expose leaks that don't appear during a brief hand check. Related inspection guidance includes a 60 PSI plumbing pressure test as part of a detailed review (certified pre-owned RV inspection program).
- Under-sink areas: Search for staining, corrosion, odor, and soft cabinet floors.
- Holding tanks: Confirm that gray and black tanks drain and that valves operate without seepage.
- Fresh water: Check for an unusual odor or plastic taste, then ask about tank cleaning.
- Winter equipment: Verify tank insulation and any heat source intended to protect plumbing.
A cracked tank or hidden freeze repair should change the deal until you have a documented repair plan. For a practical overview of the system, see our Utah RV plumbing guide.
4. Electrical System and Battery Health
An RV may run normally at the seller's hookup and still fail after you leave the site. Test shore power, the house battery system, and the 12-volt circuit separately. A weak battery, failed converter, poor grounding, or damaged cable can stay hidden until you camp without a pedestal. Bring a plug tester and, if you can use one safely, a multimeter or load tester.
Start at the battery compartment. Check cases and terminals for swelling, corrosion, loose connections, and damaged cables. Connect shore power and confirm that the converter charges the house battery. Utah's strong UV exposure can harden cable insulation, while winter cold can expose a battery with little usable capacity. Look for scorched plastic, melted breakers, exposed conductors, mismatched wire sizes, and taped amateur repairs.
Use this order during the visit:
- 120-volt shore power: Test outlets, air conditioning, microwave, and other shore-powered equipment. Check receptacles near wet areas carefully.
- 12-volt power: Run lights, furnace controls, water pump, refrigerator controls, slide mechanisms, and jacks.
- Generator output: If fitted, run the generator under load and confirm that it supplies the expected circuits. A no-load idle can hide faults that appear when equipment draws power.
- Battery condition: A resting voltage reading provides a starting point. A load test gives better evidence of usable capacity.
Detailed inspection guidance recommends load testing shore-power and 12-volt systems instead of only switching equipment on (certified pre-owned RV inspection program). At Utah elevations, run the generator with a realistic load, since performance problems may appear during mountain travel or remote camping.
For battery care and preparation, see Motor Sportsland's RV battery maintenance guide. If you plan to boondock, compare the battery setup with your expected use. An aging single battery may run lights briefly, but it offers less flexibility than a tested, maintained battery bank. Weak capacity or unsafe wiring should change the deal until repair costs and work are documented.
5. Appliance Functionality and Propane System Safety
A refrigerator that works on shore power but fails on propane can leave you without reliable cooling during travel or off-grid camping. Test every appliance in each available operating mode, and allow enough time for ignition, cycling, and shutdown problems to appear.
Begin at the propane system. Inspect the tank, regulator, shutoff valve, hoses, and exposed lines for corrosion, impact damage, or rust. Have a qualified technician pressure-test the system and check for leaks with proper equipment. Never use an open flame, and do not rely on smell alone. At Utah elevations, confirm that propane appliances burn cleanly and remain stable, since altitude can expose combustion or performance problems.
Check the furnace for reliable ignition, steady operation, warm airflow, and thermostat response. Run the water heater through a complete cycle and inspect the cooktop flame for a clean, consistent burn. Test the refrigerator on both electric and propane settings when both are supported.
Verify operation under real conditions
- Propane leak test: Require an equipment-based leak and pressure check.
- Furnace and water heater: Confirm ignition, sustained operation, airflow, and controls.
- Refrigerator: Test every supported energy source.
- Carbon monoxide protection: Test each detector and replace expired or missing units.
- Tank condition: Review certification information and reject a damaged or corroded cylinder.
Cycle appliances while testing GFCI receptacles, 12-volt equipment, and shore-power circuits. A quick switch-on check can miss intermittent faults. The used-RV inspection checklist also supports checking these systems through full operation rather than a momentary test.
A propane leak, unsafe combustion problem, or failed CO detector should pause the purchase. Proceed only after a qualified technician completes and documents the repair.
6. Roof Condition and Exterior Seal Integrity
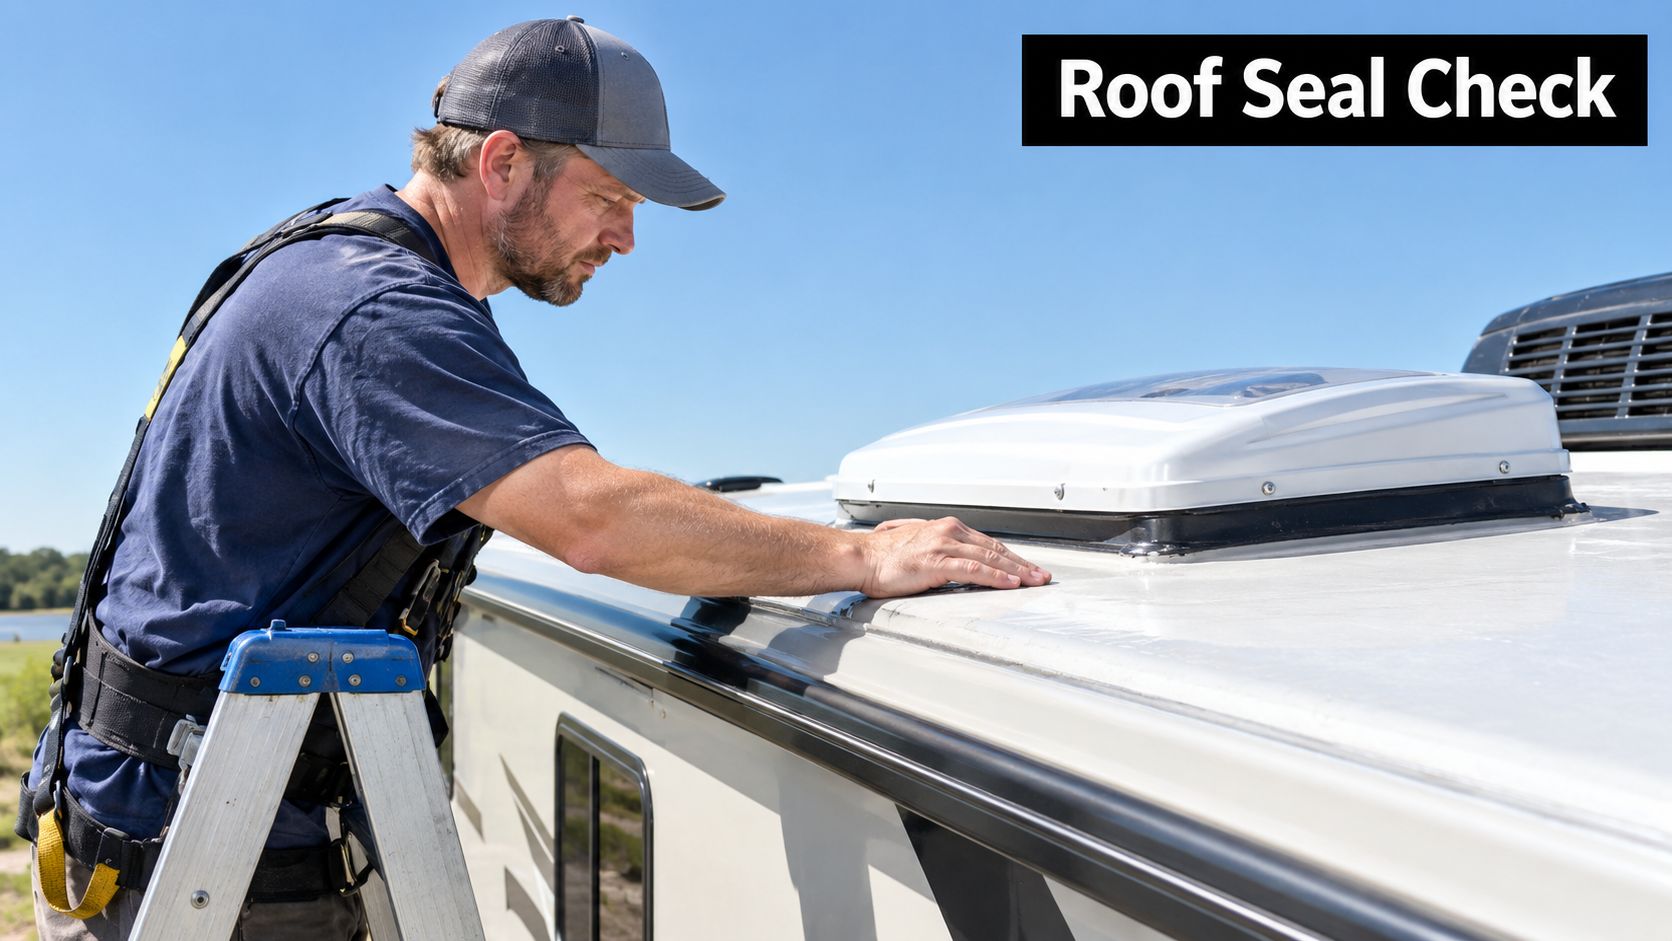
The roof deserves its own pass even after the broader structural inspection. Look at every penetration, including vents, skylights, antennas, air-conditioning units, plumbing caps, and ladder mounts. Check for cracked or separated sealant, punctures, soft areas, bubbles, tears, and repairs that don't match the surrounding surface.
The roof material matters. TPO, EPDM, aluminum, and fiberglass each have different maintenance needs, so identify the material before judging a repair. Utah's high-elevation sunlight can accelerate UV exposure, making brittle sealant and aging roof surfaces more important than they may appear in a shaded storage lot.
Read the sealant, not just the surface
Original sealant that's cracked, shrinking, or pulling away from an opening needs attention. Fresh sealant isn't automatically good news either. Look for complete coverage, compatible material, and a clean repair rather than a thick bead placed over a failed joint. Check the walls, windows, doors, awning mounts, slide edges, and corner trim for the same pattern.
A used-RV roof checklist specifically calls out cracks, bubbles, soft spots, failed sealant, tears, punctures, and other signs of water entry as high-value checks (used-RV roof inspection guidance).
A roof repair with clear documentation is manageable. A roof repair with soft interior structure and no explanation is a different purchase.
Don't climb onto a roof unless the manufacturer permits it and the surface is safe. Use a qualified inspector when access is unsafe or when the roof's condition is uncertain.
7. Tires, Brakes and Suspension Safety Systems
Tires can look nearly new and still deserve replacement because age, storage, UV exposure, and heat cycles affect the rubber. Read the DOT date code on every tire, including the spare. Inspect sidewalls and tread for cracks, bulges, flat spots, uneven wear, and evidence of overloading. Compare cold pressure with the RV placard and inspect dual-wheel setups for matching condition.
Check the hitch, coupler, safety chains, breakaway switch, axles, springs, shocks, bushings, and visible brake components on a towable. On a motorhome, inspect brake fluid, pads, rotors, hoses, and suspension. Uneven wear can point to alignment, bearing, axle, or suspension problems rather than a simple tire issue.
Use the road test to confirm the static check
The brake pedal should feel firm and consistent. Watch for pulling, pulsation, grinding, or delayed trailer-brake engagement. Listen for suspension clunks and note excessive bounce or wandering. Confirm the RV's weight ratings and avoid assuming that a tow vehicle's advertised capacity covers your actual loaded combination.
A tire with an old date code, sidewall damage, or visible dry rot is a safety issue. So is a brake system that feels inconsistent. These findings should be addressed before a Utah mountain trip, not after a descent on a steep grade. Motor Sportsland's service center can inspect brakes, tires, suspension, alignment, and balancing before you put the RV on the road.
8. Interior Furnishings, Cabinetry and Comfort Systems
The interior tells you how the RV was used, but don't confuse cleanliness with condition. Open every cabinet and drawer. Check hinges, latches, drawer slides, ceiling panels, flooring transitions, upholstery, mattress condition, and storage compartments. Look for swelling, stains, warped wood, soft floors, smoke odor, pet odor, and chemical fragrance used to mask another smell.
Run the air conditioner and furnace, then check whether airflow reaches the rear sleeping area and bathroom. Operate every slide-out more than once. Listen for grinding, binding, uneven movement, or a motor that strains. Test awnings, steps, leveling equipment, lights, entertainment components, and appliance controls.
Let the layout pass a real-life test
Stand in the kitchen while another person moves through the main aisle. Sit on the dinette, open the bathroom door, and check whether storage works for your family, pets, or powersports gear. A floor plan that feels spacious while empty may become difficult once you add outdoor equipment, food, clothing, and winter gear for the Wasatch Mountains.
A slide that fails is not merely an inconvenience. It can affect weather sealing and access to essential living areas. Persistent odor also deserves investigation, especially if it accompanies stains or soft materials. Our team can help with cleaning, minor interior repairs, and service evaluations, but a buyer should decide whether the layout and underlying condition fit the intended use before focusing on cosmetic upgrades.
9. Documentation, Service Records and Title Verification
A clean title can still hide a hard history. Match the VIN on the title to the chassis plate, dashboard tag, and service paperwork before you talk price. Then confirm who owns the RV, whether a lender still holds a lien, and whether the title shows branded, salvage, or other notations that affect resale and financing.
Receipts matter because they show what was repaired. Roof resealing, engine service, appliance replacement, tire changes, and major electrical or plumbing work should leave a paper trail. If a seller cannot back up a claim, treat it as unverified, even if the coach looks cared for.
Ask directly about flood exposure, collision repairs, winter storage, and modifications. In Utah, that question matters. UV exposure can age materials faster, winter freeze damage can show up in plumbing and seals, and mountain use can leave extra wear on brakes, cooling, and drivetrain parts. Get the answers in writing in the purchase agreement, not just across the lot.
Keep the purchase file complete
- Title and VIN: Every identifier should match before any deposit changes hands.
- Lien status: Get a release or independent confirmation that no lender still has a claim.
- Service records: Keep receipts, inspection reports, warranties, and repair estimates together.
- Seller promises: Put agreed repairs, included equipment, and delivery conditions in writing.
- Warranty transfer: Confirm whether coverage transfers and what paperwork the manufacturer requires.
Motor Sportsland's service team sees the same pattern often. The RV that has organized records is easier to judge, and usually easier to repair later.
A branded title, VIN mismatch, inconsistent mileage history, or unresolved lien should stop the deal. Those are ownership risks first, and resale risks right after that.
10. Test Drive and Roadworthiness Evaluation
The test drive is where individual defects begin interacting. Start with steering, acceleration, transmission engagement, mirrors, wipers, gauges, warning lights, and HVAC operation. On a motorhome, pay attention to engine load, shifting, cooling, braking, vibration, and stability. On a towable, verify the coupler, brake controller, sway control, and intended tow vehicle combination whenever possible.
Use a route that includes ordinary streets, highway speed where legal, a gradual grade, and a controlled braking area. Listen for rattles that may indicate loose components, feel for wandering or vibration, and monitor temperature and warning indicators. After parking, look underneath for fresh fluid, coolant, water, or propane-related concerns.
Record what changes under load
A static inspection can miss faults that appear only during operation. Generator and appliance checks under load, for example, can reveal intermittent issues that a simple power-on test doesn't show (used-RV inspection guidance). The same logic applies to the road test. A transmission may shift normally on level pavement but slip while climbing, and a cooling system may look clean until the engine works hard.
Bring a knowledgeable second person or arrange a professional evaluation if you aren't comfortable interpreting what you feel. Any burning smell, coolant odor, fuel smell, overheating, warning light, abnormal vibration, or loss of power should be documented and diagnosed before purchase.
10-Point Used RV Inspection Comparison
| Item | 🔄 Implementation Complexity | Resource Requirements ⚡ | Expected Outcomes ⭐ / 📊 | Ideal Use Cases | 💡 Key Advantages & Tips |
|---|---|---|---|---|---|
| Structural Integrity & Water Damage Assessment | High, invasive probing + roof/undercarriage checks | Moisture meter, ladder, trained inspector; moderate time/cost | ⭐ Detects hidden leaks, estimates repair cost; 📊 reduces post-purchase failure risk | Pre-purchase for older RVs or units from wet climates; >8 years old | 💡 Catches costly hidden damage; inspect after rain and get written leak history |
| Engine & Mechanical System Performance Check | High, compression, fluid analysis, test drive diagnostics | Mechanic, compression tester, oil lab; 300–600 USD typical | ⭐ Confirms engine/transmission health; 📊 predicts reliability in mountains | Motorhomes, tow vehicles, high-mileage RVs | 💡 Essential for mountain use; request service records and test on grades |
| Plumbing & Water System Integrity | Moderate, functional testing + visual inspection | Pressure test kit, tools, time to run fixtures; possible tank access | ⭐ Identifies leaks/freeze damage; 📊 prevents structural/mold issues | Used in cold-climate storage or winterized units; older tanks | 💡 Run all faucets, inspect under sinks, verify winterization status |
| Electrical System & Battery Health | Moderate–High, load tests, inverter/charger checks | Multimeter/load tester, battery analyzer; generator test; skilled tech | ⭐ Verifies boondocking capability; 📊 prevents electrical failures/fires | Boondocking, off-grid use, older battery systems | 💡 Test 12V and 120V separately; check battery age and BMS for lithium |
| Appliance Functionality & Propane System Safety | Moderate, leak/pressure tests and appliance runs | Soapy-water leak test, gas detector, time to run appliances | ⭐ Confirms safe propane use and appliance operation; 📊 reduces CO/leak risk | RVs used in cold climates or with propane appliances | 💡 Pressure-test lines, check flame color, verify CO detectors |
| Roof Condition & Exterior Seal Integrity | High, full roof walk/inspection of penetrations | Ladder, sealant gauge, visual/tactile checks; possible lift/time | ⭐ Detects primary leak sources; 📊 estimates remaining roof life | All used RVs, especially high-UV/older roofs (>10–15 yrs) | 💡 Inspect seams/penetrations, check sealant age, review past roof work |
| Tires, Brakes & Suspension Safety Systems | Moderate, visual + test drive brake/suspension checks | Tire gauge, tread tool, lift access; brake inspection tools | ⭐ Ensures safe handling and stopping; 📊 prevents blowouts/brake failure | Mountain driving, heavy loads, high-mileage RVs | 💡 Check DOT date, tread depth, perform varied-condition test drive |
| Interior Furnishings, Cabinetry & Comfort Systems | Low–Moderate, cosmetic and operational checks | Flashlight, manual slide-out operation; smell/visual inspection | ⭐ Assesses livability and hidden water damage; 📊 informs comfort upgrades | Families, full-time RVers, buyers prioritizing comfort | 💡 Open all cabinets, run slide-outs repeatedly, sniff for musty/smoke odors |
| Documentation, Service Records & Title Verification | Low, paperwork review and VIN checks | Title/VIN check tools, VIN report service; time for searches | ⭐ Prevents legal/title issues; 📊 reveals salvage/flood history | Any purchase transaction, critical for resale/value | 💡 Compare VINs, run a VIN report, confirm lien-free title before payment |
| Test Drive & Roadworthiness Evaluation | Moderate, dynamic evaluation under load | Time for 15–30 min drive, appropriate route, mechanic/driver | ⭐ Reveals drivability, transmission, cooling issues; 📊 validates on-road safety | Final check before purchase; towing performance tests | 💡 Include uphill/hwy sections, bring a mechanic, run HVAC under load |
Make the Deal Only When the RV Earns Your Trust
An inspection doesn't need to produce a flawless RV. Used vehicles have wear, and some repairs are predictable maintenance rather than reasons to abandon a sound purchase. The important question is whether you understand the condition, know what needs attention, and can price the work before ownership changes hands.
Use the findings to make one of three decisions:
- Proceed: The structure is dry and sound, safety systems work, the paperwork is clear, and remaining repairs fit your plan.
- Negotiate: The defect is understood, a qualified technician has estimated the repair, and the seller agrees to a documented price adjustment or completed repair.
- Walk away: Structural water damage, unsafe tires or brakes, a major engine fault, propane leaks, an unclear title, or an unverified lien creates too much uncertainty.
Keep every moisture reading, photograph, video, receipt, diagnostic result, and seller promise with the purchase file. If the seller won't allow system testing or an independent inspection, don't let a low price or attractive floor plan pressure you into skipping the evidence.
Motor Sportsland has served Utah customers from locations in Millcreek and Spanish Fork for more than 55 years, with new and used Class A, Class B, and Class C motorhomes, travel trailers, fifth wheels, toy haulers, folding campers, and destination trailers. Buyers can compare inventory by weight, length, price range, floor plan, and features, while current owners can use the service center for maintenance, plumbing, electrical work, upgrades, parts, and collision repair.
For Utah roads, choose a rig that matches your real plans. Mountain grades, high-elevation UV exposure, winter storage, freezing temperatures, and long stretches between services all matter. Browse inspected used RV inventory, bring your questions to the Salt Lake City-area showroom, or schedule a service evaluation before you finalize a purchase.
Used RV inspection FAQ
How much does a used RV inspection cost?
The price varies by RV type, location, systems included, and whether the inspector provides moisture testing and a written report. Ask for a written scope and quote before scheduling. A basic buyer review is different from a professional inspection with diagnostics and load testing.
How long does a professional RV inspection take?
Industry guidance says a quality inspection commonly takes 2 to 4 hours and covers at least 150 inspection points (inspection checklist guidance). Other independent guidance estimates 3 to 6 hours for a certified inspector preparing a full report, while a careful buyer's static pass may take about 90 minutes (used-RV buying checklist).
Is a dealer inspection enough?
It can be useful, especially when the dealer provides a written list of tested and repaired items. For a high-value purchase, a first RV, or any unit with moisture, title, or mechanical concerns, consider an independent inspection as well. Ask exactly what was tested, whether systems were tested under load, and whether moisture readings are included.
What roof findings should stop the purchase?
Soft roof areas, active leaks, extensive failed sealant, bubbling, interior soft spots, and unexplained repair work deserve professional evaluation before you proceed. A small maintenance item may be manageable, but structural damage changes the risk.
What should I check specifically on a motorhome?
Inspect the engine, transmission, cooling system, brakes, steering, suspension, generator, chassis, and house systems. Then test the motorhome on a grade and at highway speed where safe. A motorhome can have a healthy living area and still need substantial chassis work.
When should I walk away?
Walk away when the seller won't permit inspection, the title or lien status can't be verified, structural water damage remains unexplained, safety systems are unsafe, or major mechanical and propane problems lack a credible repair plan. You can find another RV. You can't make uncertainty disappear after signing.
Motor Sportsland offers used RV inventory, service inspections, plumbing and electrical repairs, maintenance, parts, upgrades, financing tools, and trade-in support for Utah buyers. Visit Motor Sportsland to compare available RVs, schedule service, and get practical help choosing a rig that can handle your roads, storage conditions, and camping plans.
