
20 Amp Battery Charger Guide for RV Owners in Utah

You're packing up after a cloudy stay near Jordanelle, and the house battery is lower than you expected. The furnace still runs, but you don't want to leave for another campground with a partly depleted bank. A 20 amp battery charger looks like an affordable fix, until you start comparing charge-time promises, lithium settings, and outlet requirements.
The biggest trap is treating the amperage on the box as the whole answer. It doesn't tell you how long the battery will accept maximum current, whether the charger suits your battery chemistry, or whether charging is safe in a freezing compartment. There's also an important electrical distinction: battery-side charging amps aren't the same as household outlet amps.
At Motor Sportsland, we want Utah RV owners to choose a charging setup around their actual camping and storage routine. An overnight shore-power recharge in Salt Lake City is a different job from a short generator session near Bear Lake or winter storage below the Wasatch Mountains.
Start with the battery label, not the biggest charger rating. The right choice should match your bank, finish within your available charging window, and operate safely where you intend to mount or store it.
How a 20 Amp Charger Works and How Long It Takes to Recharge
Say a Millcreek owner is boondocking near Jordanelle after two cloudy days and finds the house battery near 40% state of charge. That's a hypothetical starting point, but it's a useful buying question: will a portable charger restore enough energy before the next stop?
A standalone RV battery charger converts AC power from shore service or a suitable generator into DC power for the battery. A 20 amp battery charger can supply up to its rated charging current, provided the battery, charging stage, and operating conditions allow it.
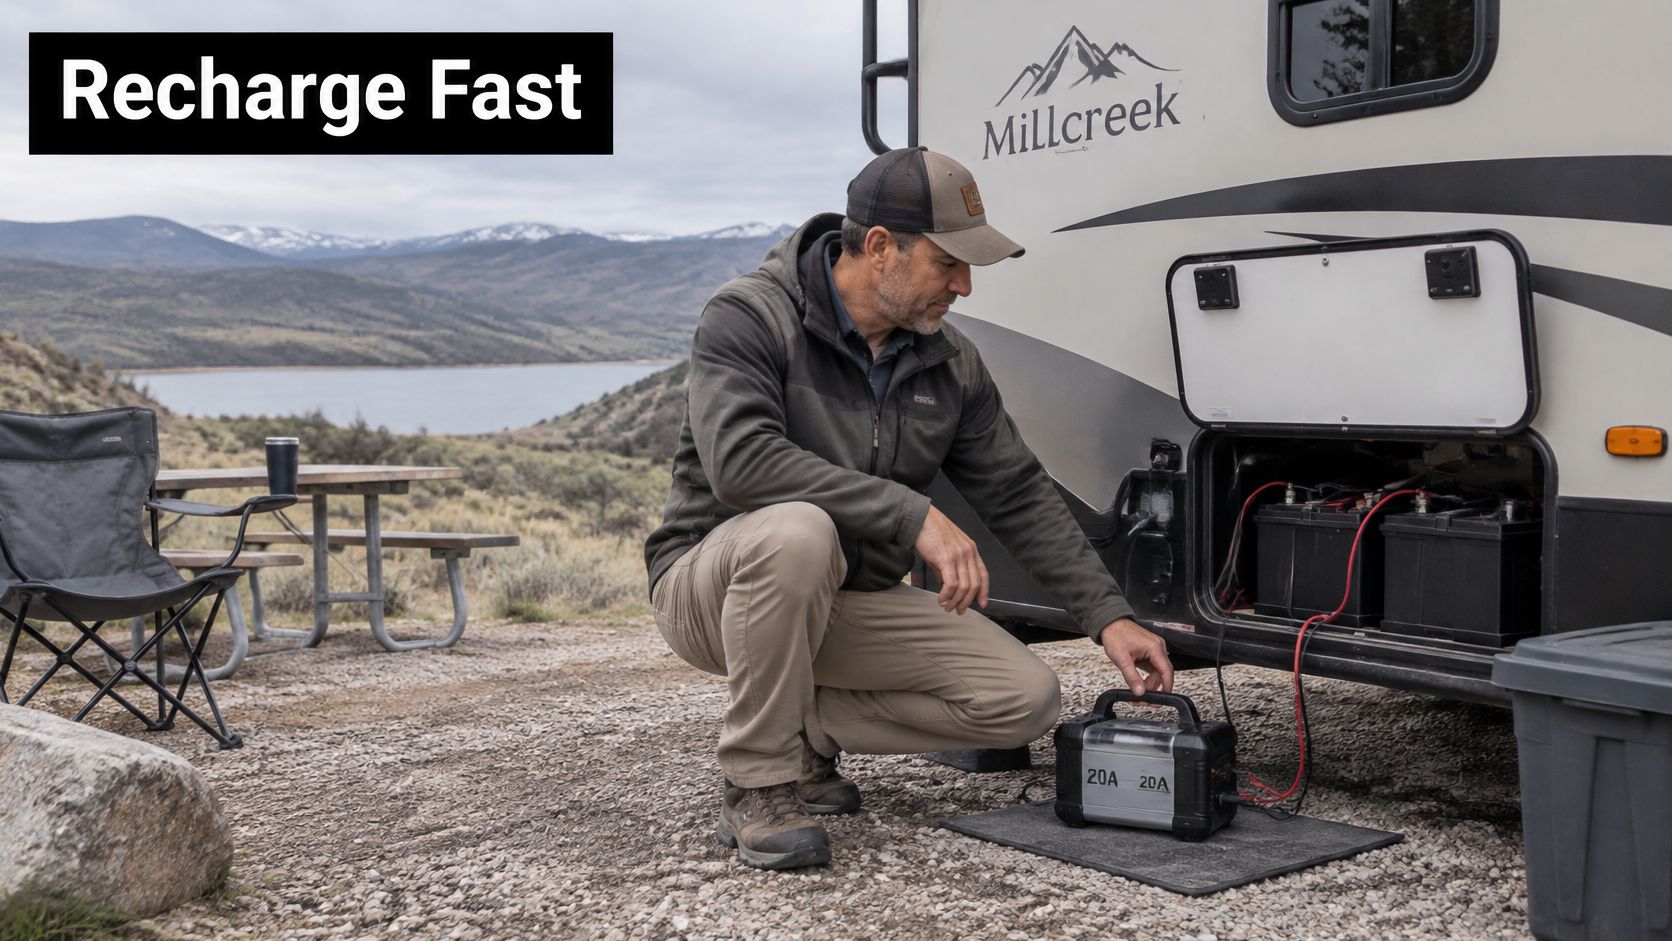
Check the placement and connections before starting a portable charging session.
Why simple division understates charging time
Think of the current rating as the maximum flow through a hose nozzle. That analogy has limits, but it captures the important point: the charger can't keep delivering maximum flow regardless of how full the battery becomes.
The multi-stage charger manual describes bulk charging at maximum available current until roughly 80% capacity, followed by absorption, when voltage is held while current tapers. The battery's manual and charger instructions must agree on the applicable charging profile.
The starting calculation is:
Amp-hours to replace ÷ available charging amps = ideal charging hours
For example, the EpiSensor charge-time calculator explains why replacing 50 Ah with a 20 A charger gives an ideal 2.5 hours, not a guaranteed finish time, and describes an allowance of approximately 20%, bringing that simplified estimate near 3 hours. That shortcut doesn't capture every charger's absorption behavior.
A more detailed example from VoltCalcs' battery-charger sizing guide estimates approximately 3.6 hours for a 100 Ah lead-acid battery starting around 50%, including roughly 1.5 hours of bulk charging and 2.1 hours of absorption. Its chemistry-specific planning ranges for a 100 Ah battery starting near 20% are roughly 4–5 hours for LiFePO4 and 6–8 hours for lead-acid.
Those are planning estimates, not appointments with a fully charged battery. A cold or deteriorated battery, voltage loss in the cables, and operating RV equipment can extend the session.
Estimate the whole bank, not one battery
Use this sequence before choosing a charger:
- Establish bank capacity. Read the labels and confirm the series or parallel wiring. Don't add every battery's amp-hour rating without checking the configuration.
- Calculate the deficit. Multiply usable bank capacity by the fraction of charge you need to replace.
- Calculate ideal time. Divide that deficit by the current available to the battery.
- Allow for the finish. Use the chemistry and charger's absorption strategy to build a realistic window rather than applying one universal percentage.
Estimated time to replace 50% of a bank at 20 amps
| Bank size | Amp-hours to replace | Ideal time at 20 A | Practical estimate with absorption |
|---|---|---|---|
| 100 Ah (one battery) | 50 Ah | 2.5 hours | About 3–3.6 hours in the examples above |
| 200 Ah (two 100 Ah batteries in parallel) | 100 Ah | 5 hours | About 6–7 hours |
| 300 Ah | 150 Ah | 7.5 hours | About 9–10.5 hours |
| 400 Ah | 200 Ah | 10 hours | About 12–14 hours |
The larger-bank practical entries are illustrative planning allowances, calculated from the ideal times, not measured performance for a particular battery. A long absorption stage can push the actual result beyond them.
Product claims also need their full context. Battery Tender's PowerPlus listing states that its 24 V, 20 A charger can recover a 200 Ah, 24 V battery in approximately 10 hours at full output. That statement isn't a universal recharge promise for an RV house bank.
Practical rule: Decide whether you need enough recovery to continue camping or a genuinely completed charge. Those are different stopping points.
A higher-output charger can shorten bulk charging. It won't proportionally shorten the slower finish, so doubling the rating doesn't automatically halve total charging time.
Sizing a 20 Amp Charger to Your Battery Bank and Power Source
A 200 Ah bank asks twice as much from a 20 amp charger as a 100 Ah bank does. The Homdera charging guide explains that 20 A into 100 Ah is 0.2C; using the same calculation, it is 0.1C into 200 Ah and 0.05C into 400 Ah. That ratio describes how hard the charger works relative to capacity.
It does not approve the rate. Check the battery label for recommended and maximum charge current before you judge a match. I recommend sizing around that limit first, then around your available charging window. A modest house bank can recover overnight. A large bank can make the same 20 amp unit impractical for short generator runs.
Separate DC output from AC input
A charger labeled 20 A usually means battery-side DC output, not a 20 A draw from the wall. Read the AC input nameplate before you decide whether an outlet or generator can supply it.
Do not multiply DC current by shore-power voltage and call the result input wattage. Input demand follows output voltage, efficiency, power factor, and design. For a clearer explanation of the RV side, use our guide to understanding your RV electrical system. On Time Home Services' explanation of power options for homes and businesses also helps distinguish supply arrangements, although your charger's nameplate remains the deciding document.
Shore and generator power versus a 20 amp charger
| Power source | Fit for a 20 A charger |
|---|---|
| 30-amp RV shore power (120 V) | Generally suitable; check charger AC input and simultaneous RV loads |
| 50-amp RV shore power (120/240 V) | Usually ample capacity; connect the charger only to its approved supply voltage |
| 2,000-watt inverter generator | Can be suitable; compare charger input demand with generator continuous output and other loads |
| Standard 15-amp household outlet | Often suitable for a battery-side 20 A charger; verify input rating and circuit loading |
Count everything sharing the supply. Converter, refrigerator, air conditioner, and other loads subtract from what is available. Confirm the full charging path, including cable gauge, fuse or breaker rating, and terminals, can carry the intended current for the full session. A larger charger is the wrong purchase when the battery will not accept its output or the existing cables cannot support it.
Battery Chemistry and Cold-Weather Compatibility
Amperage alone doesn't establish compatibility. A flooded-battery setting, an AGM setting, and a lithium setting aren't interchangeable merely because the battery cases look similar.
Read the chemistry marking before selecting the charger mode.
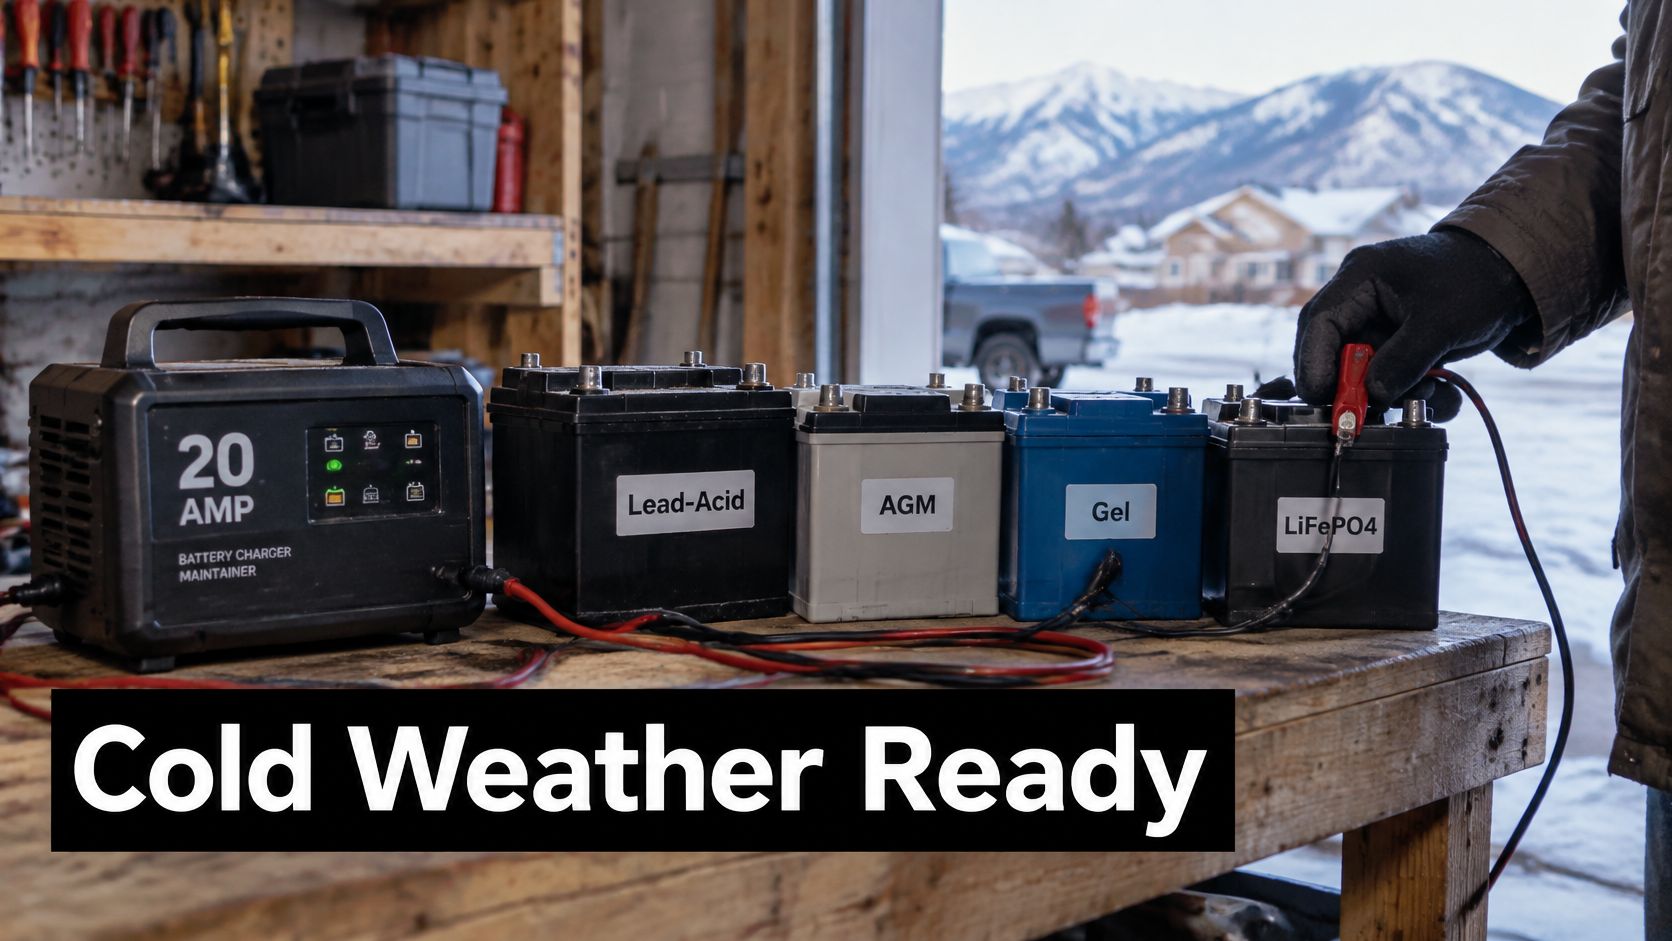
Charging profile and cold limits by battery chemistry
| Battery chemistry | Charging profile | Cold-weather limit | What to verify |
|---|---|---|---|
| Flooded lead-acid | Bulk, absorption, float | Accepts less current when cold | Approved absorption voltage and maximum rate |
| AGM | Bulk, absorption, float at AGM voltages | Reduced acceptance in cold; follow datasheet derating | AGM setting matches the battery requirements |
| Gel | Gel-specific absorption voltage | Follow the manufacturer's cold limit | Correct gel setting; avoid damaging overvoltage |
| LiFePO4 | Constant current, then constant voltage | Generally no charging below 0 °C; some manufacturers use a 5 °C margin | Approved lithium profile and low-temperature charge protection |
The Victron battery-type guidance identifies the general lithium charging restriction below 0 °C, with 5 °C used by some manufacturers as a safety margin. The battery maker's specified cell-temperature limit controls the decision, not the temperature displayed on your tow vehicle.
A winter cutoff prevents charging, not cold weather
Consider a motorhome stored near a Wasatch trailhead during a cold snap. Its lithium bank may still power equipment while its battery-management system refuses charging.
That refusal can be normal protection. A low-temperature cutoff prevents unsafe charging; it doesn't warm the cells or guarantee that the bank will recharge before your next outing. Heating must be approved for the battery and supplied with enough power to work.
Our Utah RV lithium battery upgrade guide can help you evaluate the complete conversion rather than just replacing the battery and charger.
For another visual reference while evaluating your setup:
Check the compartment as carefully as the battery
An RV label doesn't mean a charger is waterproof. Meltwater, road spray, condensation, and an enclosed bay can create conditions the product wasn't designed to tolerate.
Look for a verifiable UL listing or another applicable recognized certification, not just a safety-sounding logo. Lithium safety involves multiple standards, including transport and product-specific frameworks; no single mark makes every installation safe.
Before approving the combination, verify:
- Charge voltage and current. Both must match the battery documentation.
- Minimum charging temperature. Confirm how the battery enforces it.
- Environmental rating. Match the charger to moisture and splash exposure.
- Ventilation and protection. Preserve cooling clearance, correct polarity, and overcurrent protection.
Installing a Permanent 20 Amp Charger Safely
A permanent installation should make charging easier without hiding unsafe wiring. If the work involves a new AC circuit, changes to the distribution panel, or uncertain grounding, use qualified help rather than treating it as a battery-accessory hookup.
The overview below is a planning aid, not a substitute for the charger's wiring diagram.
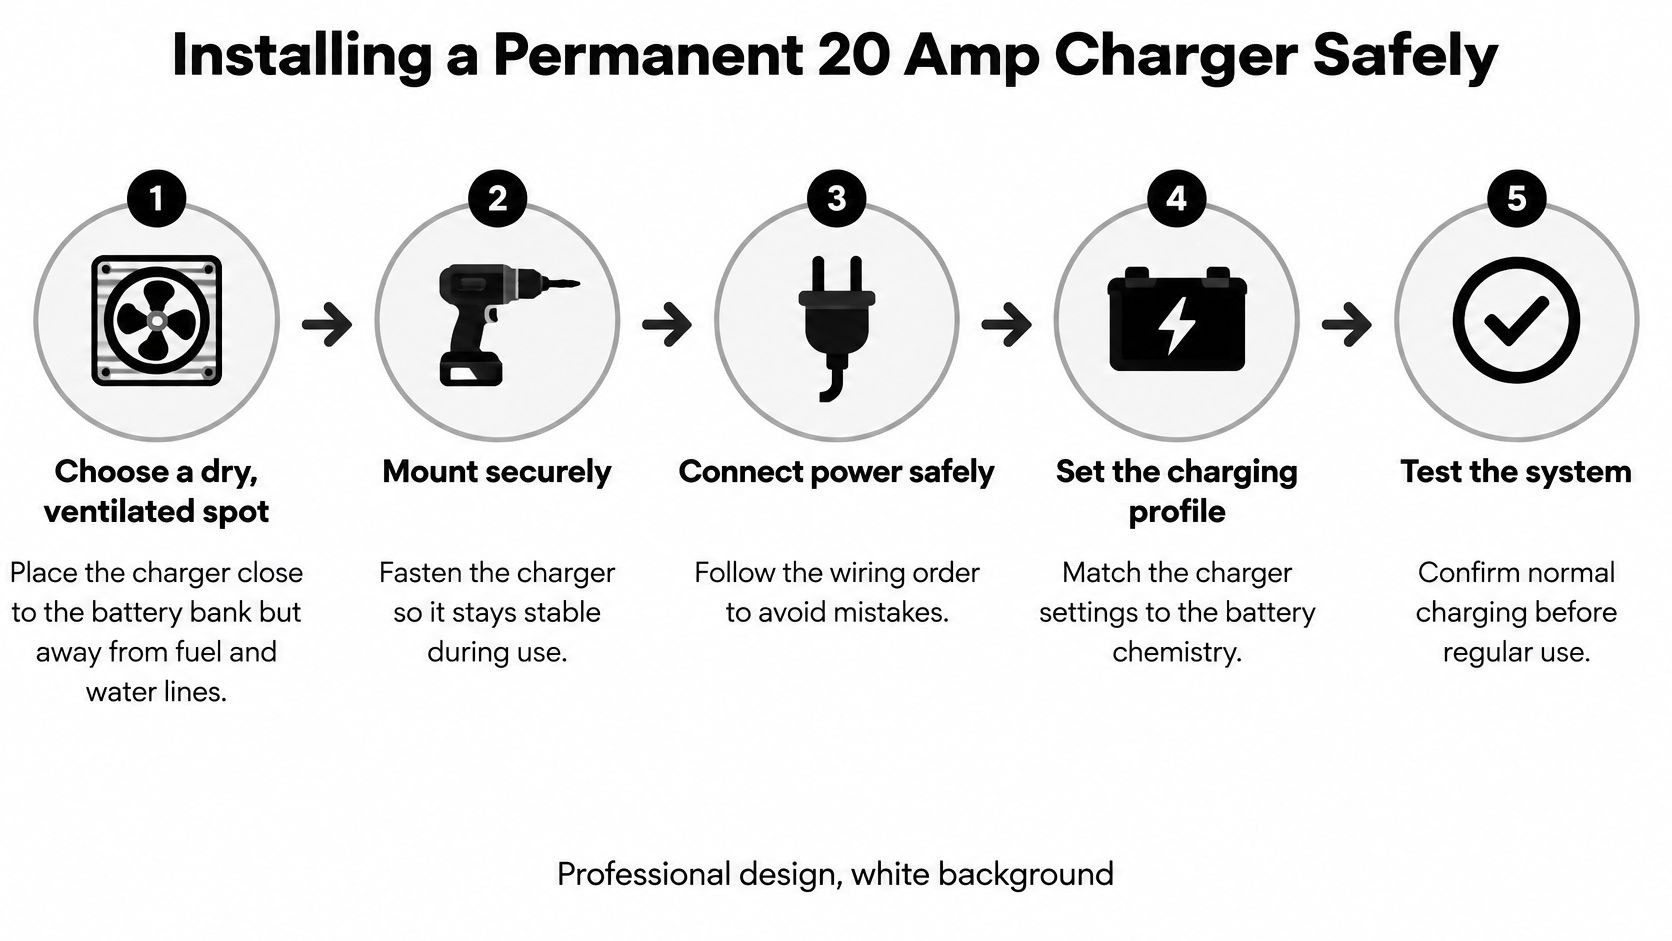
Follow a controlled installation sequence
Choose a dry, ventilated mounting location. Keep the charger reasonably close to the bank while respecting clearance from fuel equipment, water lines, and battery gases. Don't install it inside a battery enclosure unless the manufacturer approves that environment.
Isolate every charging source. Disconnect shore power and disable the generator, solar charging, inverter, and other sources according to their instructions. Disconnect the bank using the RV manufacturer's procedure, then verify the circuits you'll touch are de-energized.
Mount the charger securely. Use the specified bracket or mounting points and preserve cooling clearances. Support cables so road vibration won't pull on terminals or rub insulation against a metal edge.
Select cable and overcurrent protection together. Use the manufacturer's cable table for the complete circuit length, conductor type, and installation conditions. Place the correctly rated battery-side fuse or breaker as close to the positive source as the applicable instructions and installation requirements specify.
Verify polarity before making connections. Use a multimeter rather than trusting insulation color alone. With all sources isolated, follow the manufacturer's connection order, generally positive before the final negative connection, and use the specified terminal torque.
Complete grounding and AC supply correctly. Follow the charger's bonding instructions, and use circuit protection matched to the wiring and installation. Provide GFCI protection where required, without improvising neutral-to-ground connections.
Set the profile and observe the initial charge. Confirm the chemistry setting before energizing the charger. Monitor battery voltage, charger status, and abnormal heating, then stop if you find faults, odors, swelling, or hot connections.
Diagnose voltage drop at the battery
Undersized or poorly terminated cable can leave the charger reading a different voltage from the battery. Measure at the battery terminals under charge, then compare with the charger output using the same meter.
A hot terminal isn't a normal feature of faster charging. Stop charging and find the resistance or connection problem.
If your garage also needs a dedicated vehicle-charging circuit, Black Rhino Electric's EV charger installation information addresses that separate electrical project. EV charging equipment isn't a substitute for an RV house-battery charger, and its circuit requirements shouldn't be transferred to this installation.
Charging Habits and Mistakes That Shorten Battery Life
Good charging habits are repeatable checks, not elaborate rituals. Keep a record of your battery model, approved settings, and normal charging behavior so another family member can connect the system correctly.
Use this checklist as a reminder before charging.
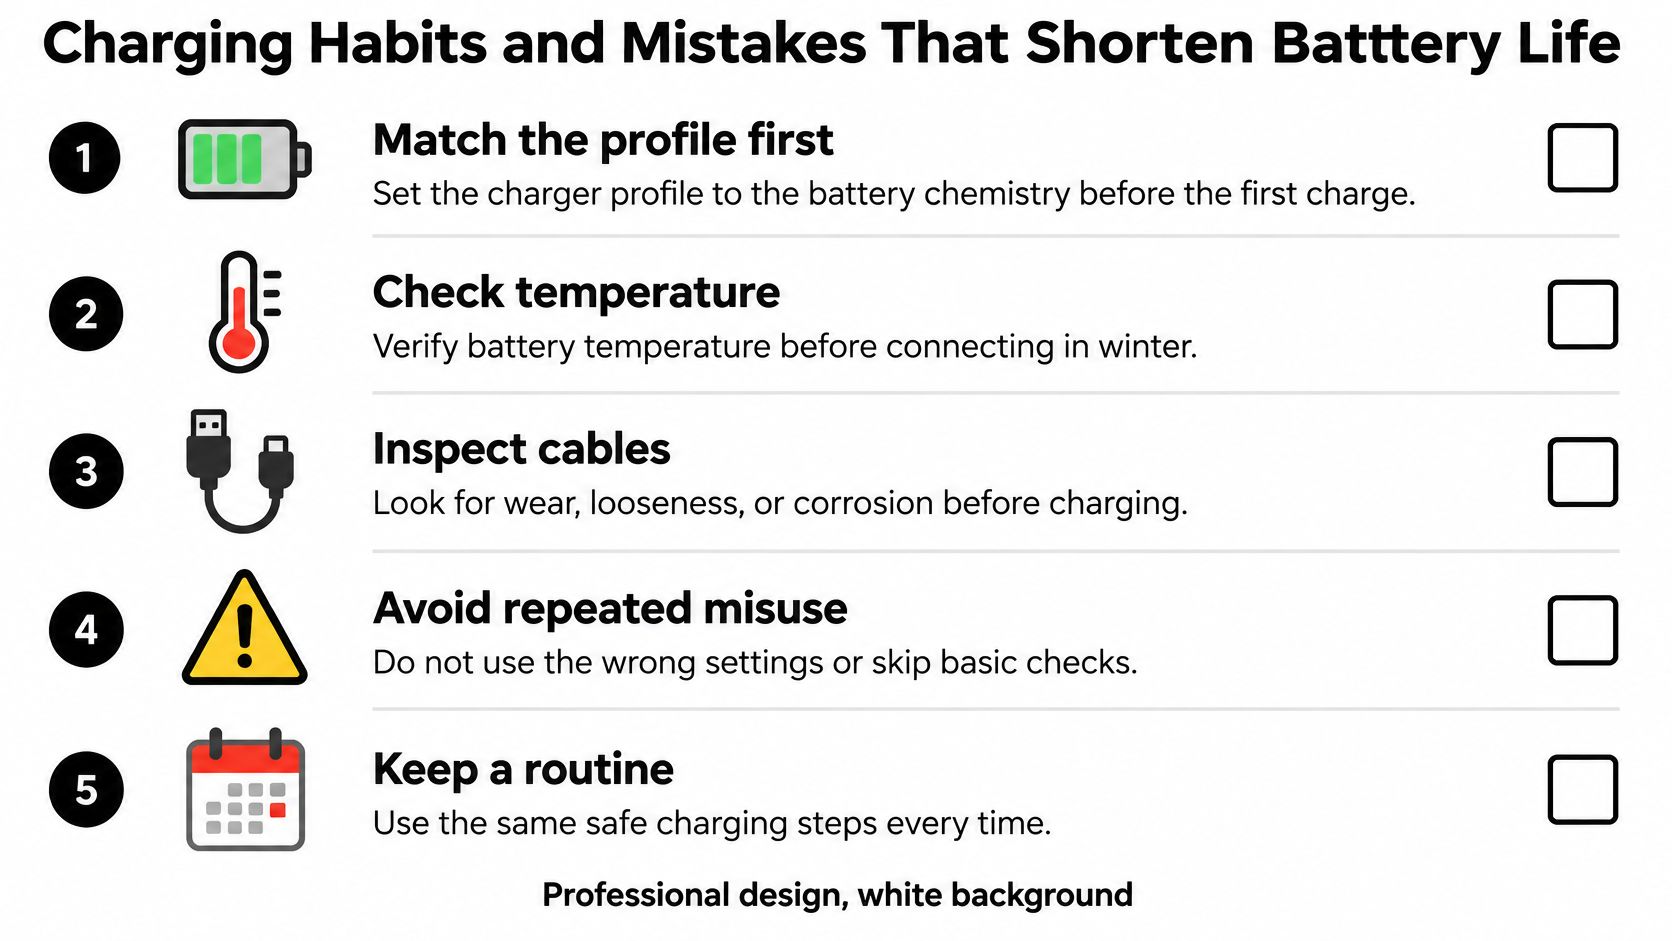
Habits worth keeping
- Match the profile first. Recheck settings after replacing the battery or moving a portable charger between vehicles.
- Check battery temperature. In winter, verify the battery's condition rather than assuming a warm garage means warm cells.
- Inspect connections routinely. Look for loose hardware, discoloration, damaged insulation, and corrosion.
- Read the battery monitor. A properly configured monitor is more useful than guessing remaining capacity from a charger light.
- Use chemistry-specific storage care. Maintain lead-acid as its manufacturer directs; store lithium at the manufacturer's recommended partial charge and disconnect unnecessary loads.
Our RV battery maintenance guide helps turn those checks into a practical ownership routine.
Common mistakes and direct fixes
| Mistake | Better action |
|---|---|
| Leaving a flooded setting active after a lithium conversion | Verify the selected profile before reconnecting |
| Rejecting or approving an outlet from DC output amperage alone | Read the charger's AC input label |
| Using thin or excessively long charging leads | Select cable from the charger's installation table |
| Repeatedly trying to charge a bank with a failing cell | Stop and have the battery evaluated |
| Treating a green light as proof of usable capacity | Confirm the indicated charging stage and battery condition |
Utah spring snowmelt and rain deserve attention, especially when a compartment has a damaged seal or a wet cable entry. Check after wet-weather travel around the Great Salt Lake or a rainy campground stay, and correct the water entry rather than repeatedly cleaning the same corrosion.
Finish each observed charging session with a brief check of battery voltage, charger status, and cable or connector temperature. Use a suitable temperature instrument around energized equipment, and don't place bare tools across exposed terminals.
If the system repeatedly faults or one connection becomes unusually warm, stop using it until the cause is corrected. A different charger won't repair a damaged terminal or a failing battery.
Confirm Your Charger Setup Before You Buy or Install
A 20 amp battery charger is a reasonable candidate when its approved output matches the battery and its recharge window fits your trip. It's the wrong tool when you need rapid recovery of a large bank, when its profile doesn't match, or when the installation environment violates its operating limits.
The purchase decision starts with evidence you can bring to the counter.
Bring the details that determine compatibility
- Battery identification. Photograph the chemistry, model, approved charge voltage, and current limits.
- Bank configuration. Record capacity and how the batteries are connected.
- Available power. Bring the shore-service details or generator model and the charger's AC input requirements.
- Storage temperature. Describe the coldest conditions the actual battery compartment sees.
- Installation environment. Show the mounting space, ventilation, cable route, and moisture exposure.
A heated storage building can solve one problem while leaving a poorly ventilated mounting bay unresolved. Likewise, a charger that works well overnight on shore power may be frustrating during a brief generator run.
Buying advice: Choose the charger for the battery you own and the charging opportunity you have, not the fastest-looking number on the shelf.
Keep RV battery charging separate from EV charging
If you're also comparing equipment for an electric tow vehicle, EVChargers.eu's guide to best ev chargers concerns a different category of charging equipment. Don't use an EV charging recommendation to size an RV house-battery charger.
Our team can review a charger specification sheet against your battery and power setup. The Motor Sportsland Service Center handles installations and electrical work at our Millcreek and Spanish Fork locations, and we also sell RV parts for replacement components.
Bring your battery-label photos and power details for a personalized consultation before ordering or installing a charger. That gives us a concrete starting point and helps avoid buying a unit that solves the wrong problem.
Frequently Asked Questions About 20 Amp Battery Chargers
How long does a 20 amp charger take to charge a 100 Ah battery?
A partly discharged lead-acid battery needs additional time beyond the ideal amp-hour calculation because charging current tapers. Use the chemistry-specific estimates and your charger's documented charging stages rather than expecting one universal finish time.
Can I run a 20 amp charger on a 30 amp RV plug?
Generally, yes, provided the charger accepts the available supply and its AC input demand, combined with other RV loads, stays within circuit limits. Its battery-side output rating doesn't mean it draws that same amperage from shore power.
Is a 20 amp charger safe for lithium in winter?
Only when battery temperature remains within the manufacturer's charging limits. A low-temperature cutoff blocks unsafe charging, while approved heating may be needed if you want charging to continue in cold conditions.
Will a 20 amp charger run off a 2,000-watt inverter generator?
It can, depending on the charger's actual input demand, generator continuous rating, and other connected loads. Don't reject the generator by confusing DC charging amps with AC supply amps.
Does a bigger charger cut total charging time in half?
Not necessarily. A higher rating helps only while the battery can accept the extra current, and it won't eliminate the slower finishing stage.
Can I plug a 20 amp charger into a 15 amp outlet?
Often, yes, because the advertised charging current is usually DC output. Confirm the charger's AC input rating, outlet condition, other circuit loads, and any extension-cord requirements before connecting it.
Motor Sportsland offers RV service, electrical installations, and battery-system upgrades to help you match a 20 amp battery charger to your camping and storage needs. Bring your battery label and charger specifications to our Millcreek or Spanish Fork team, or visit Motor Sportsland to explore current RVs and plan your next step.
